Why Polymeric Sand Matters So Much
If you’ve owned pavers in Southwest Florida for any length of time, you’ve seen the usual headaches: weeds popping through joints, ants tunneling under edges, joints washing out after summer storms, and paver edges creeping. Our climate—intense sun, frequent rain, sandy soils, and salt exposure—magnifies those issues.
Polymeric sand is the invisible upgrade that keeps a beautiful installation looking and performing like new. It’s a specially blended sand with binders that hardens after activation, turning your joints into a stable, water‑shedding, pest‑resistant network that still drains just enough to protect the base. When installed well, the difference is dramatic: cleaner lines, tighter joints, fewer callbacks, and less maintenance.
What Polymeric Sand Actually Is (and Isn’t)
- What it is: A calibrated sand blended with polymeric binders. When you activate it with a light, controlled mist, those binders cure and turn the joint into a rigid yet slightly flexible mass that helps lock pavers in place.
- What it isn’t: Concrete or grout. It doesn’t glue pavers together. Instead, it locks the system while allowing micro‑movement so the surface handles temperature and traffic without cracking.
Why that balance matters in Collier County: Our sandy subsoils and heavy summer rains can cause joint erosion and edge creep. Polymeric sand resists washout, discourages weed seeds from rooting, and makes it harder for ants to mine loose joint sand into their mounds.
The Big Benefits in SWFL Conditions
- Weed Resistance
Weeds don’t grow from “under” your patio; they germinate in the joint when organic dust accumulates. A cured polymeric joint leaves no loose medium for roots to grip. - Ant Deterrence
Ants love loose joint sand. Once the binders cure, they move on. Around Golden Gate Estates , this alone is worth the upgrade. - Washout Protection
Afternoon downpours and tropical bands test any hardscape. Stabilized joints better survive sheet flow and splash zones near roof drip lines or deck edges. - Edge Restraint Support
Polymeric joints push back on lateral movement, helping your edge restraint do its job—especially along driveway borders that take turning loads. - Cleaner Appearance
Consistent joint color and height make patterns pop—herringbone, ashlar, and basketweave all look sharper with tight, stabilized joints.
When You Should (and Shouldn’t) Use Polymeric Sand
Use it when:
- You want low maintenance joints on pool decks, lanais, patios, walkways, and driveways.
- You’re near salt exposure (gulf air or saltwater pools) and want to minimize joint erosion.
- You’re refreshing an older surface and want fewer weeds and ants.
Avoid or adapt when:
- Joints are very narrow (hairline) or very wide (over ~1/2″). Many modern products cover 1/16″–1″ joints, but check specs.
- You have a steep slope where water concentrates in channels—use drainage fixes first.
- The base or edge restraint is failing. Polymeric sand can’t fix structural issues. It complements a correct base; it doesn’t replace it.
Picking the Right Product: Joint Size, Color, and Chemistry
- Joint Size: Choose a polymeric sand formulated for your joint width. Some are labeled for narrow joints (porcelain plank patterns), others for standard concrete/stone pavers, and a few for wide joints in irregular stone.
- Color: Typical choices: natural, tan, gray, charcoal. Match to the paver body or your border color. In Pelican Bay, tan blends well with travertine; gray/charcoal pop on modern porcelain or light concrete.
- Performance Enhancers: Look for anti‑washout and anti‑haze technologies and products designed for high humidity regions—handy for summers.
Correct Installation (Step‑by‑Step Edition)
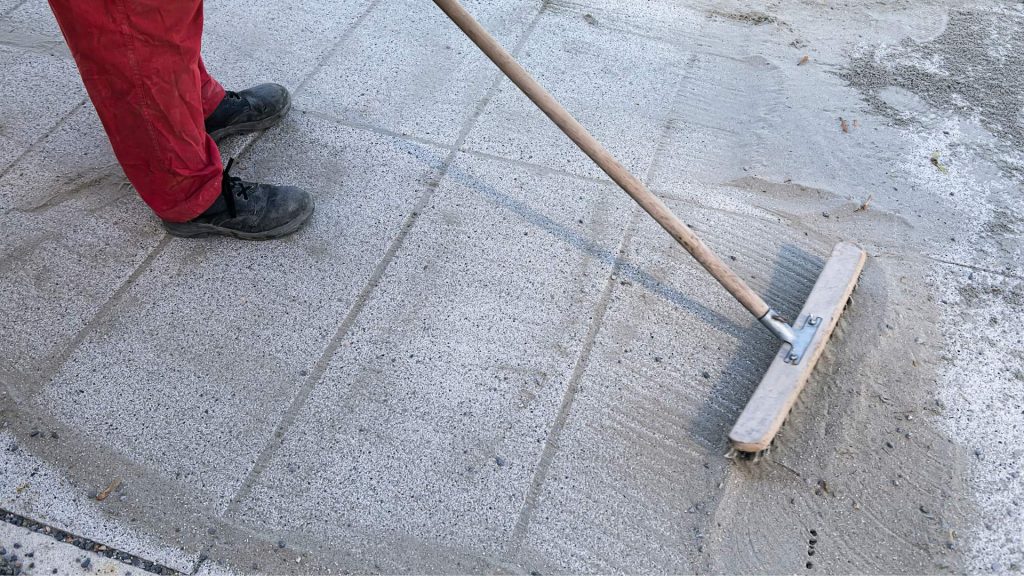
- Dry, Clean Surface
Clean with material‑appropriate methods (neutral cleaners on porcelain, stone‑safe cleaners for travertine, efflorescence treatment on concrete when needed). Allow the surface to dry fully—this is critical in our humidity. - Sweep In
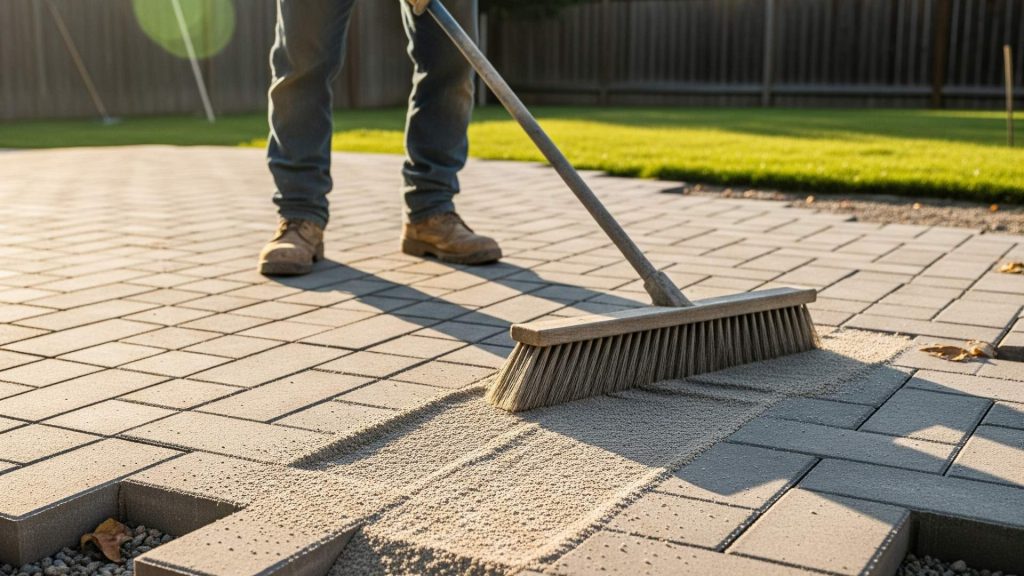
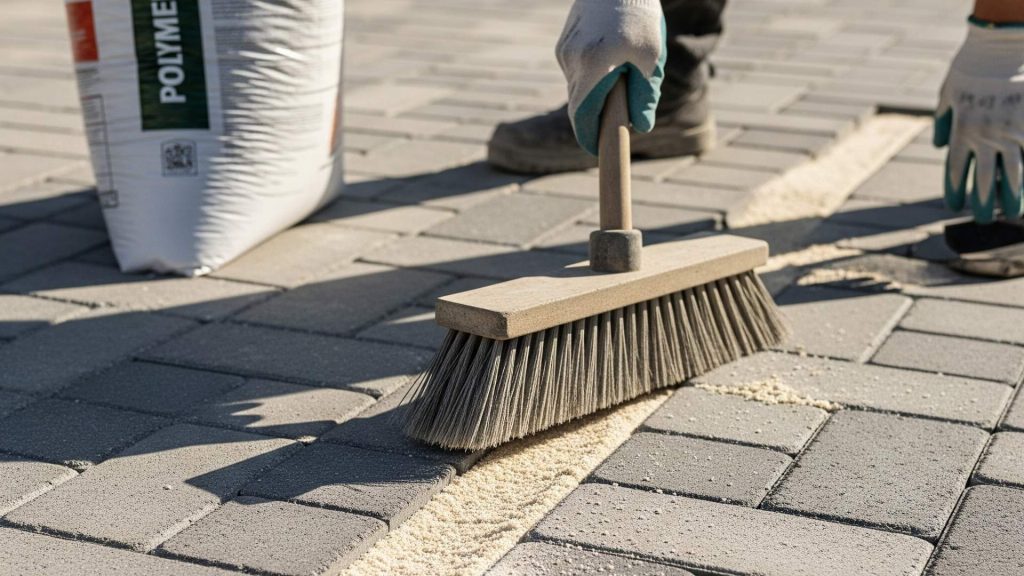
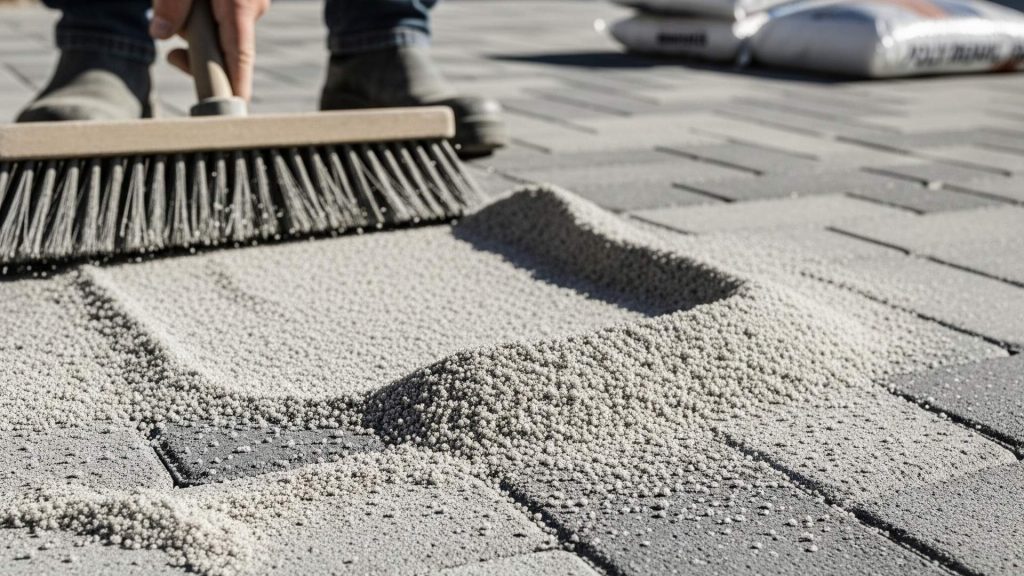
Pour a bag of polymeric sand on the surface and sweep diagonally to fill joints. Work in manageable sections so you can control cleanup and activation. - Vibrate/Compact
Use a plate compactor with a protector mat (or a rubber mallet for delicate stone) to settle the sand deep into joints. Top up and compact again for full depth. - Surface Cleanup
Sweep off all residue. Use a soft blower to remove the dusting from the surface—but don’t blow the joints. - Activate with a Gentle Mist
Light, even misting twice (or per manufacturer instructions) until joints look consistently damp but not flooded. Avoid over‑saturation, which can float out binders and cause haze. - Cure Window
Protect from rain for at least 24 hours (product‑specific). Watch the radar; we schedule activation for low-chance hours and keep covers ready for pop-up showers. - Final Pass & Inspection
After curing, check joint hardness, look for low spots to top up, and verify edges are tight.
Weather Timing in SWFL (Read This Before You Start)
- Humidity & Dew: Morning dew counts as moisture. Start later in the morning once surfaces are dry to the touch.
- Afternoon Thunderstorms: Plan activation windows around typical 2–6 pm storms in summer. We carry rain tents and postpone if the radar looks dicey.
- Shade vs Full Sun: Shaded areas may retain moisture; ensure even drying so the joint cures uniformly.
Common Mistakes We See in Collier County
- Rushing the Dry Time: Trapped moisture leads to joint whitening and a soft cure. Wait until surfaces and joints are fully dry before activation.
- Over‑watering: Flooding floats binders and leaves a sticky film that dries into haze. Mist—don’t pour.
- Skipping Compaction: Without compaction, sand doesn’t reach depth. Result: early washout and low joints.
- High‑pressure Cleaning: Blasting before activation ejects joint sand and can gouge bedding sand. Use lowest effective pressure and wide tips.
- Wrong Product for Joint Size: Hairline porcelain joints need a fine‑grain formula; irregular stone needs a wide‑joint blend.
Troubleshooting: Haze, Washout, and Ant Comebacks
Joint Haze (Cloudy Film):
Caused by over‑application, dust left on the surface, or activation with too much water. Fix by gentle surface cleaning with manufacturer‑approved haze removers. Prevent by thorough cleanup and controlled misting.
Washout After Storms:
If joints wash out, the most common culprits are low joint depth, high‑velocity runoff, or poor edge restraint. Re‑compact, top up, and redirect water with drainage adjustments.
Ants Return:
They may be exploiting loose perimeter zones or areas with soft joints. Re‑sand those areas, inspect edge restraint, and reduce nearby organic debris where colonies thrive.
Sealing and Polymeric Sand: What’s the Right Order?
- Clean & Dry the surface.
- Install/Refresh Polymeric Sand and fully cure it (per product timing).
- Apply Sealer (if desired for your material), using breathable penetrating on travertine, joint‑focused care on porcelain, and film‑forming or penetrating on concrete depending on look.
Why order matters: Sealing after curing protects the joint and the paver surface, and it avoids trapping uncured binders that can cause whitening.
Maintenance Calendar for Homeowners
- Quarterly: Rinse, blow off debris, spot treat organic stains with neutral cleaners. Inspect joints at downspouts, step edges, and pool splash zones.
- Annually (Late Spring): Top up thin joints near edges, check edge restraint, and clear drainage paths before storm season.
- Every 2–3 Years: Plan a comprehensive refresh: deep clean, re‑sand, and (if appropriate) reseal. Travertine and concrete benefit from this cycle; porcelain usually needs joint focus only.
Cost: What Drives Pricing in Collier County
- Square Footage & Access: Courtyards with lots of corners and planters take longer than a simple driveway.
- Cleaning Needs: Efflorescence treatment and stain remediation add steps.
- Joint Depth & Width: Shallow joints indicate more material and time to achieve full depth.
- Drainage/Repairs: If water is cutting channels, adding permeable bands or improving edge restraint prevents repeat washouts.
Real Projects
- Pelican Bay Pool Deck: Tumbled travertine with tan polymeric sand. We replaced washed‑out joints, added anti‑slip sealer, and redirected downspout flow. Result: clean joints, cooler surface, and no afternoon puddling.
- Golden Gate Estates Driveway: Concrete pavers in herringbone with charcoal joints. We compacted to full depth and added permeable relief bands near beds. Result: no washout after summer storms and sharper pattern definition.
- Walkway: Porcelain plank pavers with fine-grain polymeric for narrow joints. Result: crisp modern lines with minimal upkeep.
FAQs
Will polymeric sand make my pavers waterproof?
No. It stabilizes joints and sheds water from the surface, but the system is still designed to drain. That’s good for your base in heavy rains.
Is polymeric sand safe around a saltwater pool?
Yes—choose products rated for salt exposure and pair with a stone‑safe, breathable sealer for travertine. Porcelain typically needs joint care only.
How long does polymeric sand last ?
With correct depth and sealing (where appropriate), expect 2–3 years before touch‑ups in high‑wear or heavy‑wash areas. Many zones last longer.
Can I DIY a refresh?
You can, but success hinges on surface dryness, compaction, and activation technique. If you can’t guarantee 24 hours rain‑free or you’re unsure about prep, hire a pro.
What if my pavers are already shifting?
Re‑sand alone won’t fix it. You likely need base corrections and edge restraint repair first, then polymeric sand.
Stronger Joints, Cleaner Lines, Less Work
Polymeric sand is a small investment with big returns: fewer weeds and ants, resistance to washout, and a hardscape that holds its crisp, just-installed look. Paired with smart drainage and periodic care, it’s the simplest way to extend the life and beauty of your pavers—whether it’s a pool deck, driveway, or lanai.